
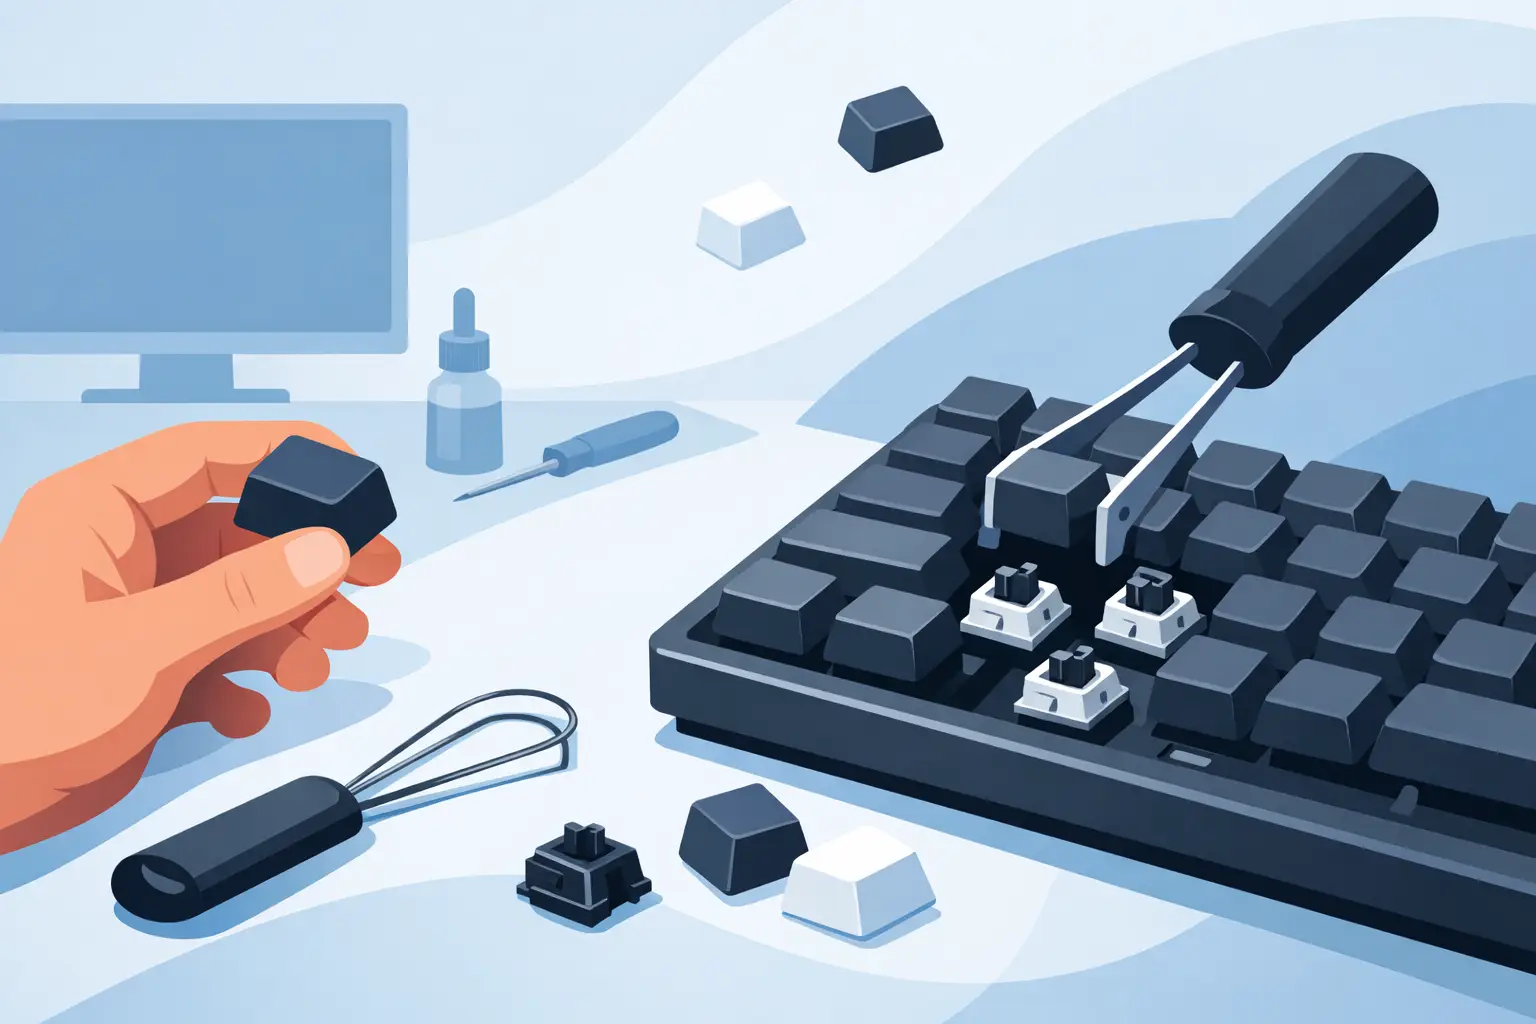
How to Remove Mechanical Keyboard Keys
A sticky spacebar, gritty WASD cluster, or one mystery crumb under your Enter key is usually all it takes to look up how to remove mechanical keyboard keys. The good news is that the job is simple if you slow down, use the right puller, and know which keys need extra care. The bad news is that rushing it can crack a keycap stem, bend a stabilizer wire, or turn a quick clean into an annoying repair.
How to remove mechanical keyboard keys without damage
Most mechanical keyboard keys are keycaps pressed onto a switch stem. That means they usually come off with a straight, gentle pull. What trips people up is assuming every key behaves the same. Letter keys are easy. Larger keys like Space, Shift, Enter, and Backspace often use stabilizers, so they need a little more control.
Before you touch the keyboard, unplug it or switch it off if it is wireless. This is partly about safety, but mostly about avoiding random inputs while you work. Set the keyboard on a stable desk with decent lighting. If you have a small tray for keycaps, use it. Losing one modifier key under the desk is a fast way to ruin the mood.
The best tool is a wire keycap puller. It grips the sides of the cap evenly and is much less likely to scratch the plastic than improvised tools. Plastic ring pullers can work too, but they tend to feel tighter and less precise. If you are using your fingers, that is fine for a single loose cap, but not ideal for a full cleanup.
Slide the puller over the keycap so it catches opposite sides. Pull straight up with steady pressure. Do not twist hard and do not yank. On a standard 1U key like A, S, D, or F, the cap should pop off cleanly. If it feels unusually stubborn, stop and check that the puller is seated correctly. Forcing it is where damage happens.
Once the cap is off, you will see the switch stem underneath. On Cherry-style stems, that is typically a cross-shaped mount. If the switch itself comes loose from a hot-swappable board while removing the cap, that is a different issue. It can happen on tight caps or boards with looser sockets. In that case, pause and reseat the switch before continuing.
The keys that need extra care
If you only remember one thing about how to remove mechanical keyboard keys, make it this: big keys are different. Spacebar, Enter, Shift, Backspace, and sometimes 0 on the numpad often use stabilizers to prevent wobble. These keys do not always release with one clean upward pull.
Start the same way by using a keycap puller and lifting gently. You are trying to free the keycap from the center switch stem first. Once the middle is loose, do not rip the cap away. Tilt it slightly and inspect how the stabilizer connects underneath. On many keyboards, you will see a metal wire clipped into plastic inserts on the underside of the keycap.
The safest move is to unhook one side at a time with light pressure. If you cannot see what is happening, use your phone flashlight. Guessing is how stabilizer inserts snap. Some prebuilt gaming keyboards have tighter stabilizer tolerances than custom boards, so there is no prize for doing it fast.
The spacebar deserves the most patience. It is larger, more flexible, and easier to twist unevenly. Pull from the center until it loosens, then work the sides free carefully. If one side is still hooked, do not bend the cap to force it. Ease it off in small movements. It takes seconds longer and can save you from replacing parts.
What to do before you start pulling keycaps
A little prep makes the whole job cleaner. Take a quick photo of your keyboard layout before removing multiple caps, especially if you use a compact board with a nonstandard bottom row. You probably know where most keys go, but people still mix up navigation keys and smaller modifiers all the time.
If the keyboard is especially dirty, turn it upside down first and tap it lightly over a trash can. That gets rid of loose debris before you start. Then remove a few keycaps at a time instead of stripping the whole board in one go unless you are doing a deep clean. Working in sections helps you keep the layout organized and makes reassembly less annoying.
If your board has shine-through legends, textured caps, or painted finishes, avoid metal tools. Even if you are careful, scratches happen. This is one of those situations where the cheap correct tool beats the expensive mistake. For gamers and heavy daily users, keeping a simple keyboard cleaning kit nearby is worth it.
Cleaning after you remove the keys
Once the keycaps are off, this is where the keyboard usually tells the truth about how much it has been used. Dust, skin particles, hair, snack debris, and oily buildup around switches are completely normal. The goal is to clean it without soaking the board or pushing debris deeper inside.
Use a soft brush or compressed air to loosen dirt around the switches. Short bursts work better than blasting one area nonstop. If you see grime on the plate or case surface, wipe it with a microfiber cloth lightly dampened with isopropyl alcohol. Lightly dampened matters. You do not want liquid dripping into the switches or PCB.
The keycaps themselves can be wiped individually, or if you removed a full set, washed in warm water with a little mild soap. Let them dry completely before reinstalling. Completely means no shortcuts. Even trapped moisture inside a cap can create problems later.
If you are cleaning around stabilizers, be extra gentle. A brush is fine. Flooding them with cleaner is not. If a large key has always felt rattly, cleaning may help, but it will not fix every stabilizer issue. Sometimes the real solution is tuning, lubing, or replacing parts, and that depends on the keyboard.
When not to remove every key
There is a difference between normal maintenance and a full teardown. If you only spilled a little dust into one area, you do not need to remove every keycap on the board. Pull the affected section, clean it, and move on. A focused cleanup is faster and lowers the chance of mixing up caps or stressing stabilizers.
You should also be cautious with very low-cost boards, older keycaps with brittle plastic, and unusual switch designs. Not every keyboard marketed as mechanical uses the same stem compatibility or cap quality. Some off-brand caps are tighter than expected, and some older ABS keycaps can crack more easily than newer PBT sets.
If your keyboard is under warranty and you are dealing with a functional issue rather than basic cleaning, check the warranty terms first. A stuck key might be dirt, but it could also be a switch problem. Pulling caps is usually routine maintenance, but if the board already has loose switches, broken stabilizers, or physical defects, it is smart to inspect before going all in.
Putting the keycaps back on the right way
Reinstallation is easy, but it still pays to be careful. Make sure the keycap is aligned with the switch stem before pressing down. For standard keys, line it up and press straight down until it seats firmly. No rocking, no twisting.
For stabilized keys, reconnect the stabilizer inserts or wire first if needed, then align the center stem and press down evenly. Test the key before moving on. It should return smoothly and feel level. If it binds, feels crooked, or sits too high on one side, remove it and try again. Do not mash it harder and hope it sorts itself out.
This is also a good time to check for wear. If a cap feels loose after reinstalling, the stem mount may be worn. If a big key rattles more than before, the stabilizer may not be seated correctly. Catching that right away is much better than noticing it during a game or while working.
Common mistakes people make
The biggest mistake is using too much force. Mechanical keyboards are durable, but keycaps and stabilizer parts are still plastic. Straight, controlled pressure beats brute strength every time.
The second mistake is treating all keys the same. Regular alphanumeric caps are quick to remove. Large keys are not. That small difference is what saves you from broken inserts and annoying reassembly.
The third mistake is putting damp keycaps back on too early. If you washed them, give them time. A clean keyboard is great. A clean keyboard with moisture inside it is not.
If you use your setup hard every day for gaming, school, work, or content creation, knowing how to remove mechanical keyboard keys is one of those small skills that pays off over time. Your board stays cleaner, your switches stay easier to inspect, and your entire setup feels better with very little effort. Take it slow, use the right puller, and let the keyboard tell you how much force it actually needs.