How to Clean Mechanical Keyboard Right
Your keyboard knows everything about your daily routine – late-night gaming, work sprints, snack breaks, and the occasional coffee close call. If the keys feel gritty, the switches sound off, or your setup just looks dusty, it is time to fix it. Here’s how to clean mechanical keyboard gear the right way without damaging the caps, switches, or case.
Why mechanical keyboards get dirty so fast
Mechanical keyboards collect more than surface dust. Between the keycaps, you get crumbs, skin oils, pet hair, and fine debris that settle into the plate and around the switches. If you game often or use your board for work every day, that buildup shows up faster than most people expect.
The result is not just cosmetic. Dirty keycaps feel slick, legends look dull, and debris around the switches can change the sound and feel of your typing. In some cases, keys start to feel inconsistent. A deep clean will not fix a broken switch, but it can absolutely bring a good board back to life.
What you need before you clean
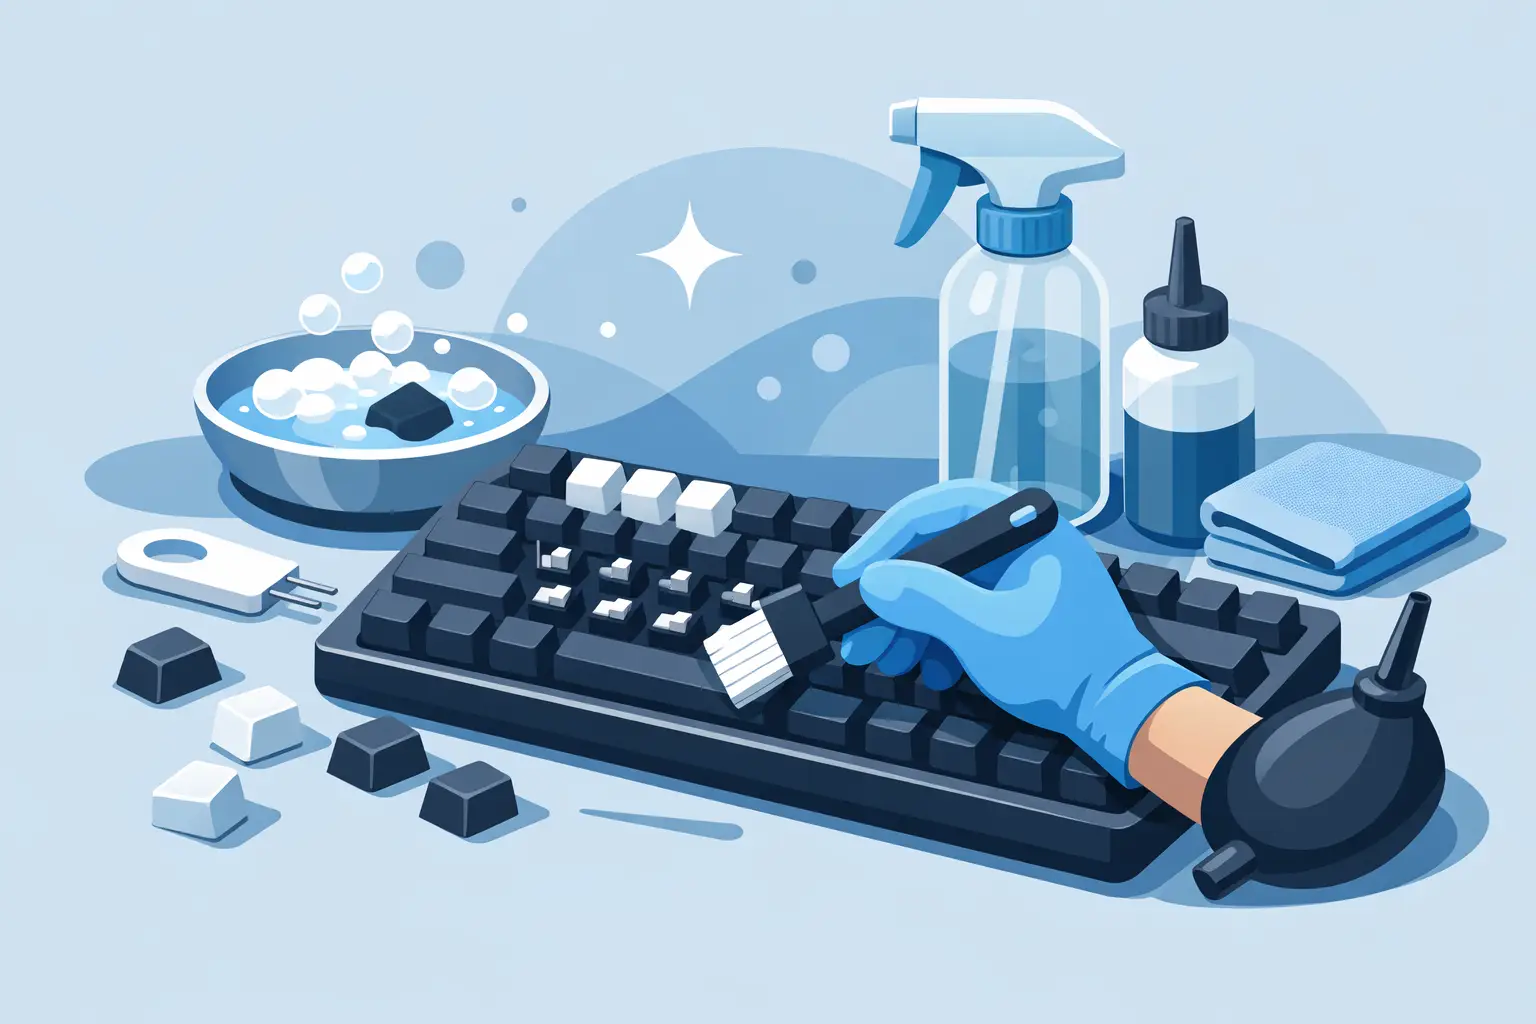
You do not need a full workshop to get this done. For most boards, a microfiber cloth, a small brush, cotton swabs, compressed air or an air blower, warm water, and mild dish soap will handle the job. If your keyboard has removable keycaps, a keycap puller makes the process much easier and safer.
If you want a cleaner result, add isopropyl alcohol at 70% or higher for the case and non-painted surfaces. Just use it carefully. Too much liquid is where people turn a simple refresh into an expensive replacement.
How to clean mechanical keyboard safely
Start by unplugging the keyboard. If it is wireless, turn it off and remove the battery if the design allows it. This is basic, but it matters. You do not want accidental inputs, and you definitely do not want moisture anywhere near powered electronics.
Turn the keyboard upside down and gently shake out loose debris. You will probably be surprised by what falls out. After that, use compressed air in short bursts to clear dust from between the keys. Hold the board at an angle so the debris moves out instead of deeper inside.
At this point, you have two ways to proceed. If the keyboard only has light dust and fingerprints, you can do a surface clean without removing keycaps. If the board is visibly dirty, sticky, or has months of buildup, take the extra time and do a deeper clean.
Surface cleaning for regular maintenance
For weekly or biweekly upkeep, wipe the keycaps with a lightly damp microfiber cloth. If there is oil or grime, add a tiny drop of mild soap to the cloth or use a small amount of isopropyl alcohol on the exterior plastic surfaces. Then use a soft brush or cotton swab around the edges of the keycaps to lift trapped dust.
This quick method is ideal if you want your setup looking sharp without taking the board apart. It is fast, low risk, and good enough for keyboards that are used in clean spaces. The trade-off is simple – it will not remove the debris sitting under the caps.
Deep cleaning with keycap removal
If your board needs a real reset, remove the keycaps. Use a keycap puller and pull straight up with steady pressure. Do not twist hard, especially on taller keys or boards with tighter stems. For larger keys like the space bar, Enter, Shift, and Backspace, go slowly because stabilizers can be a little trickier.
Before you remove everything, take a quick photo of the layout. That saves time later and avoids the classic “where does this key go” problem.
Once the keycaps are off, place them in a bowl of warm water with a small amount of dish soap. Let them soak for 20 to 30 minutes. While they soak, clean the keyboard frame.
Use compressed air first, then a dry soft brush to loosen stubborn dust around the switches and plate. Follow with cotton swabs for the tighter areas. If you see grime on the case, wipe it with a slightly damp microfiber cloth. For greasy spots on the outer frame, a little isopropyl alcohol on the cloth works well, but never pour or spray liquid directly onto the keyboard.
If your keyboard has an exposed metal plate, be extra careful not to leave moisture behind. If it has RGB lighting, the same rule applies. Keep liquids controlled and minimal.
Cleaning the keycaps the right way
After soaking, scrub the keycaps gently with a soft brush or cloth. Rinse them with clean water and lay them out on a towel to dry. Make sure they are fully dry before putting them back on. Not mostly dry. Fully dry.
This is the part people rush, and it is where trouble starts. Even small moisture trapped in the stem area can end up where you do not want it. Give the caps several hours to air dry, or leave them overnight if you want zero risk.
For textured PBT caps, cleaning is usually straightforward because they resist shine better. ABS keycaps, which are common on many gaming boards, tend to show oil and wear faster. Cleaning helps, but if they are heavily polished from use, you may improve the look more than the feel.
What not to do
There are a few mistakes that are easy to avoid. Do not wash the entire keyboard under running water. Do not spray household cleaners directly into the switches. Do not use paper towels that leave fibers everywhere. And do not use harsh chemicals that can fade legends or damage plastic.
Also, be careful with compressed air. Short bursts are fine. Holding the can too close or spraying it upside down can release moisture. If you clean often, a reusable air blower can be the better long-term move.
Can you clean the switches too?
Usually, you can clean around the switches without opening them, and for most users, that is enough. If a switch feels scratchy or sticky because of debris, air and careful brushing may help. But if the problem is inside the switch housing, cleaning gets more advanced.
Hot-swappable keyboards give you more options because you can remove switches with the right tool. Soldered boards are less forgiving. If you are not comfortable opening switches or handling lubricant, it is smarter to stop at external cleaning than risk damaging the board.
This is one of those it-depends situations. Enthusiast users may want to go deeper for sound and feel. Most gamers and everyday users just need a proper keycap-off clean every few months.
How often should you clean a mechanical keyboard?
If your keyboard is part of a daily setup, a light wipe once a week keeps it looking good. A deeper clean every two to three months is a smart schedule for most people. If you eat at your desk, have pets, or use the keyboard for long gaming sessions every day, clean it more often.
The easiest way to avoid heavy buildup is simple maintenance. Dust settles fast, but it is much easier to remove when it has not been sitting there for six months.
Extra tips to keep your keyboard cleaner longer
A few habits make a real difference. Keep drinks a little farther away than feels necessary. Wash your hands before long sessions. Try not to snack directly over the board. And when you are done for the day, a quick pass with a microfiber cloth takes about ten seconds.
If your desk gets dusty fast, a keyboard cover can help, especially in shared rooms, dorm setups, or home offices. And if your current board has become harder to maintain than it should be, this is where better accessories and cleaning tools actually pay off. A simple keycap puller and proper cleaning kit cost a lot less than replacing a neglected keyboard early.
For gamers, creators, students, and anyone trying to keep a setup looking fresh without overspending, cleaning is one of the cheapest upgrades you can make. A clean board feels better, sounds better, and makes the whole desk look sharper.
When cleaning is not enough
Sometimes dirt is not the issue. If a key chatters, stops registering, or feels physically damaged after cleaning, you may be dealing with switch failure, PCB issues, or worn stabilizers. In that case, no amount of wiping will solve it.
That is when it makes sense to look at replacement parts, a maintenance kit, or even a new board if the old one is past its prime. For shoppers who want affordable gear and practical accessories in one place, Elcomputer Store is built around exactly that kind of setup upgrade.
A mechanical keyboard does not need a complicated routine. Clean it carefully, keep moisture under control, and stay consistent. Your hands will notice the difference long before your next match or work session starts.